In this guide, you’ll learn how to create a custom PHP Composer package with PHPUnit tests. Follow the step-by-step process to set up your package, write a sample PHP class, and integrate unit tests for your code. Additionally, explore options to publish your package using GitLab or Packagist. This tutorial is designed to help PHP developers streamline their workflow and improve code reusability by creating and sharing their own packages.
In order to optimize the workflow and maximize efficiency, it might be useful to extract common code to reusable packages. A common package system is composer. In this article, we will demonstrate, how to create a custom composer package. At the end, it is shown, how to publish the package on packagist for everybody, as well as how to use the package in a self-hosted GitLab environment.
System prerequisites:
- PHP
- Composer (See here for installation details)
- Git and a (new) Git repository for the package to create
Step 1: Initialize the project
First, we will set up our new package. We will write a simple Hello World package for demonstration.
After entering composer init some information is requested, similar to the following:
After that, we will install PHPUnit for the package with the following command:
After that, the resulting configuration file composer.json should be similar to the following:
More details for the structure of the configuration file can be found here: https://getcomposer.org/doc/04-schema.md
Step 2: Create a sample PHP class
For our example library, we will create a simple class HelloWorld with a method sayHello()
Step 3: Write a Unit-Test for our class
In order to test the functionality, we write a test case for our class. If we modify our code in the future, it has to satisfy the test cases, in order to be deployed. We can therefore guarantee, that if it passes all tests, the code covers the requirements specified in the test cases.
For our simple class, the test case is also simple:
In order to use the PHPUnit Framework, we can call PHPUnit with command-line arguments, or specify the options in a configuration file:
More details on the configuration can be found in the PHPUnit documentation: https://docs.phpunit.de/en/10.0/
After that, we can execute the test suite:
If all was set up correctly, a similar output should be shown – all tests passed:
Step 4a: Publish the package with GitLab
Sometimes, you want to use your own composer packages, without making them public. In this case, we can you a (self-hosted) GitLab repository as a source for composer. In order to work, the project has to be in a group in GitLab! In order to create the packages, we can create the following CI-configuration as an example:
This will execute the test suite for each commit and if it succeeds, it will deploy the package.
If we want to make a specific version, we can create a tag with (For more information about semantic versioning, see https://www.philipp-doblhofer.at/en/blog/automatic-changelog-and-versioning-with-git/)
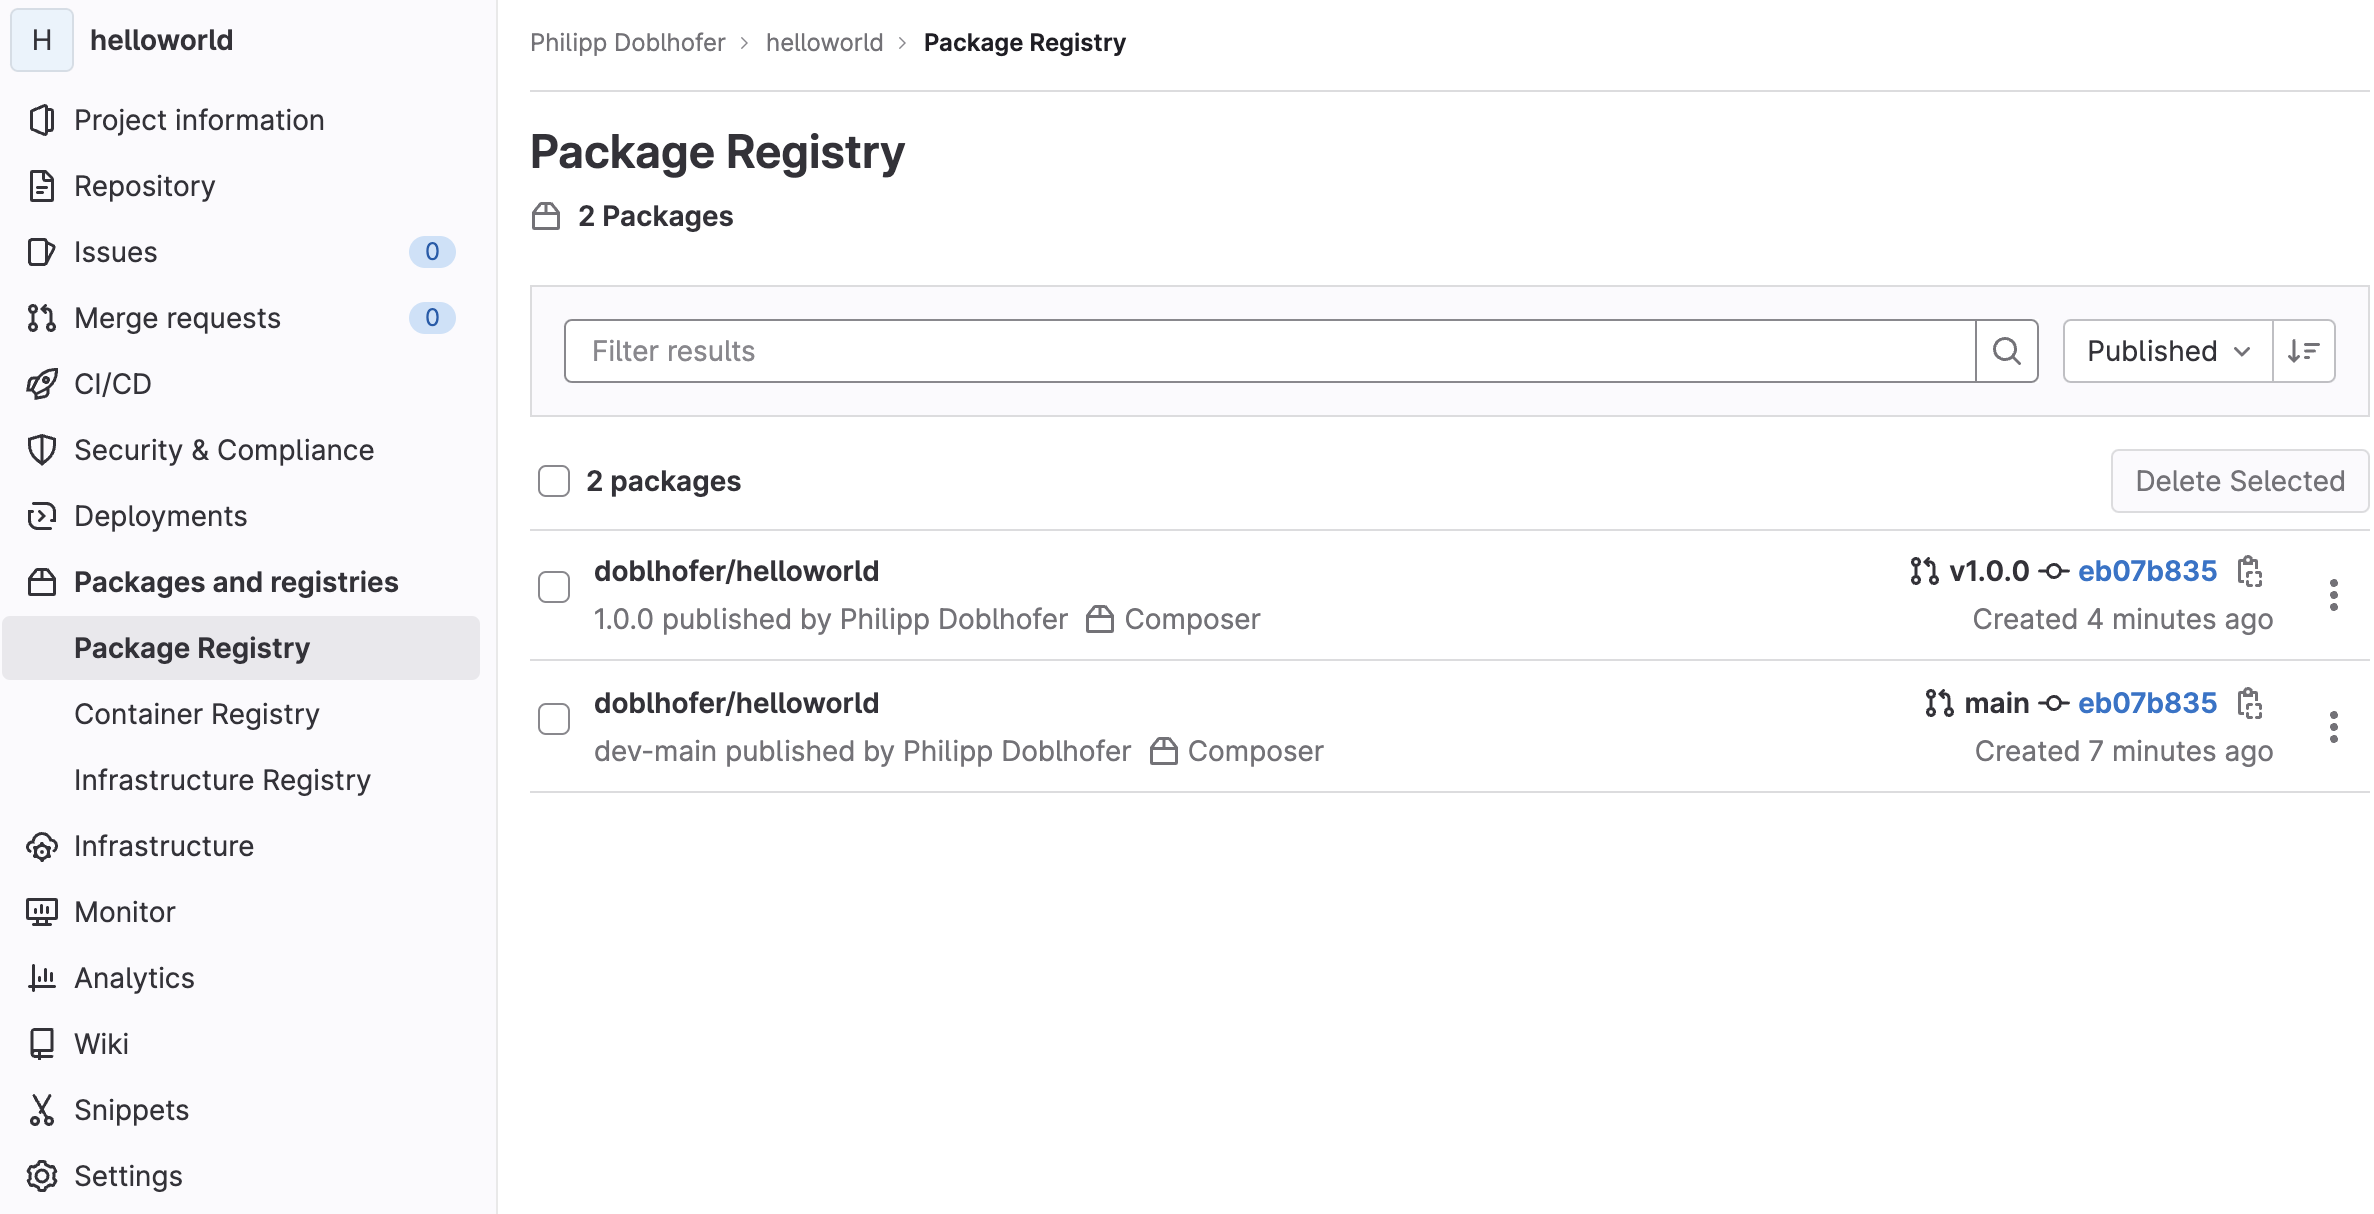
If the package registry is activated in GitLab, you can see the created packages:

If we want to use the package in another project, we have to do the following:
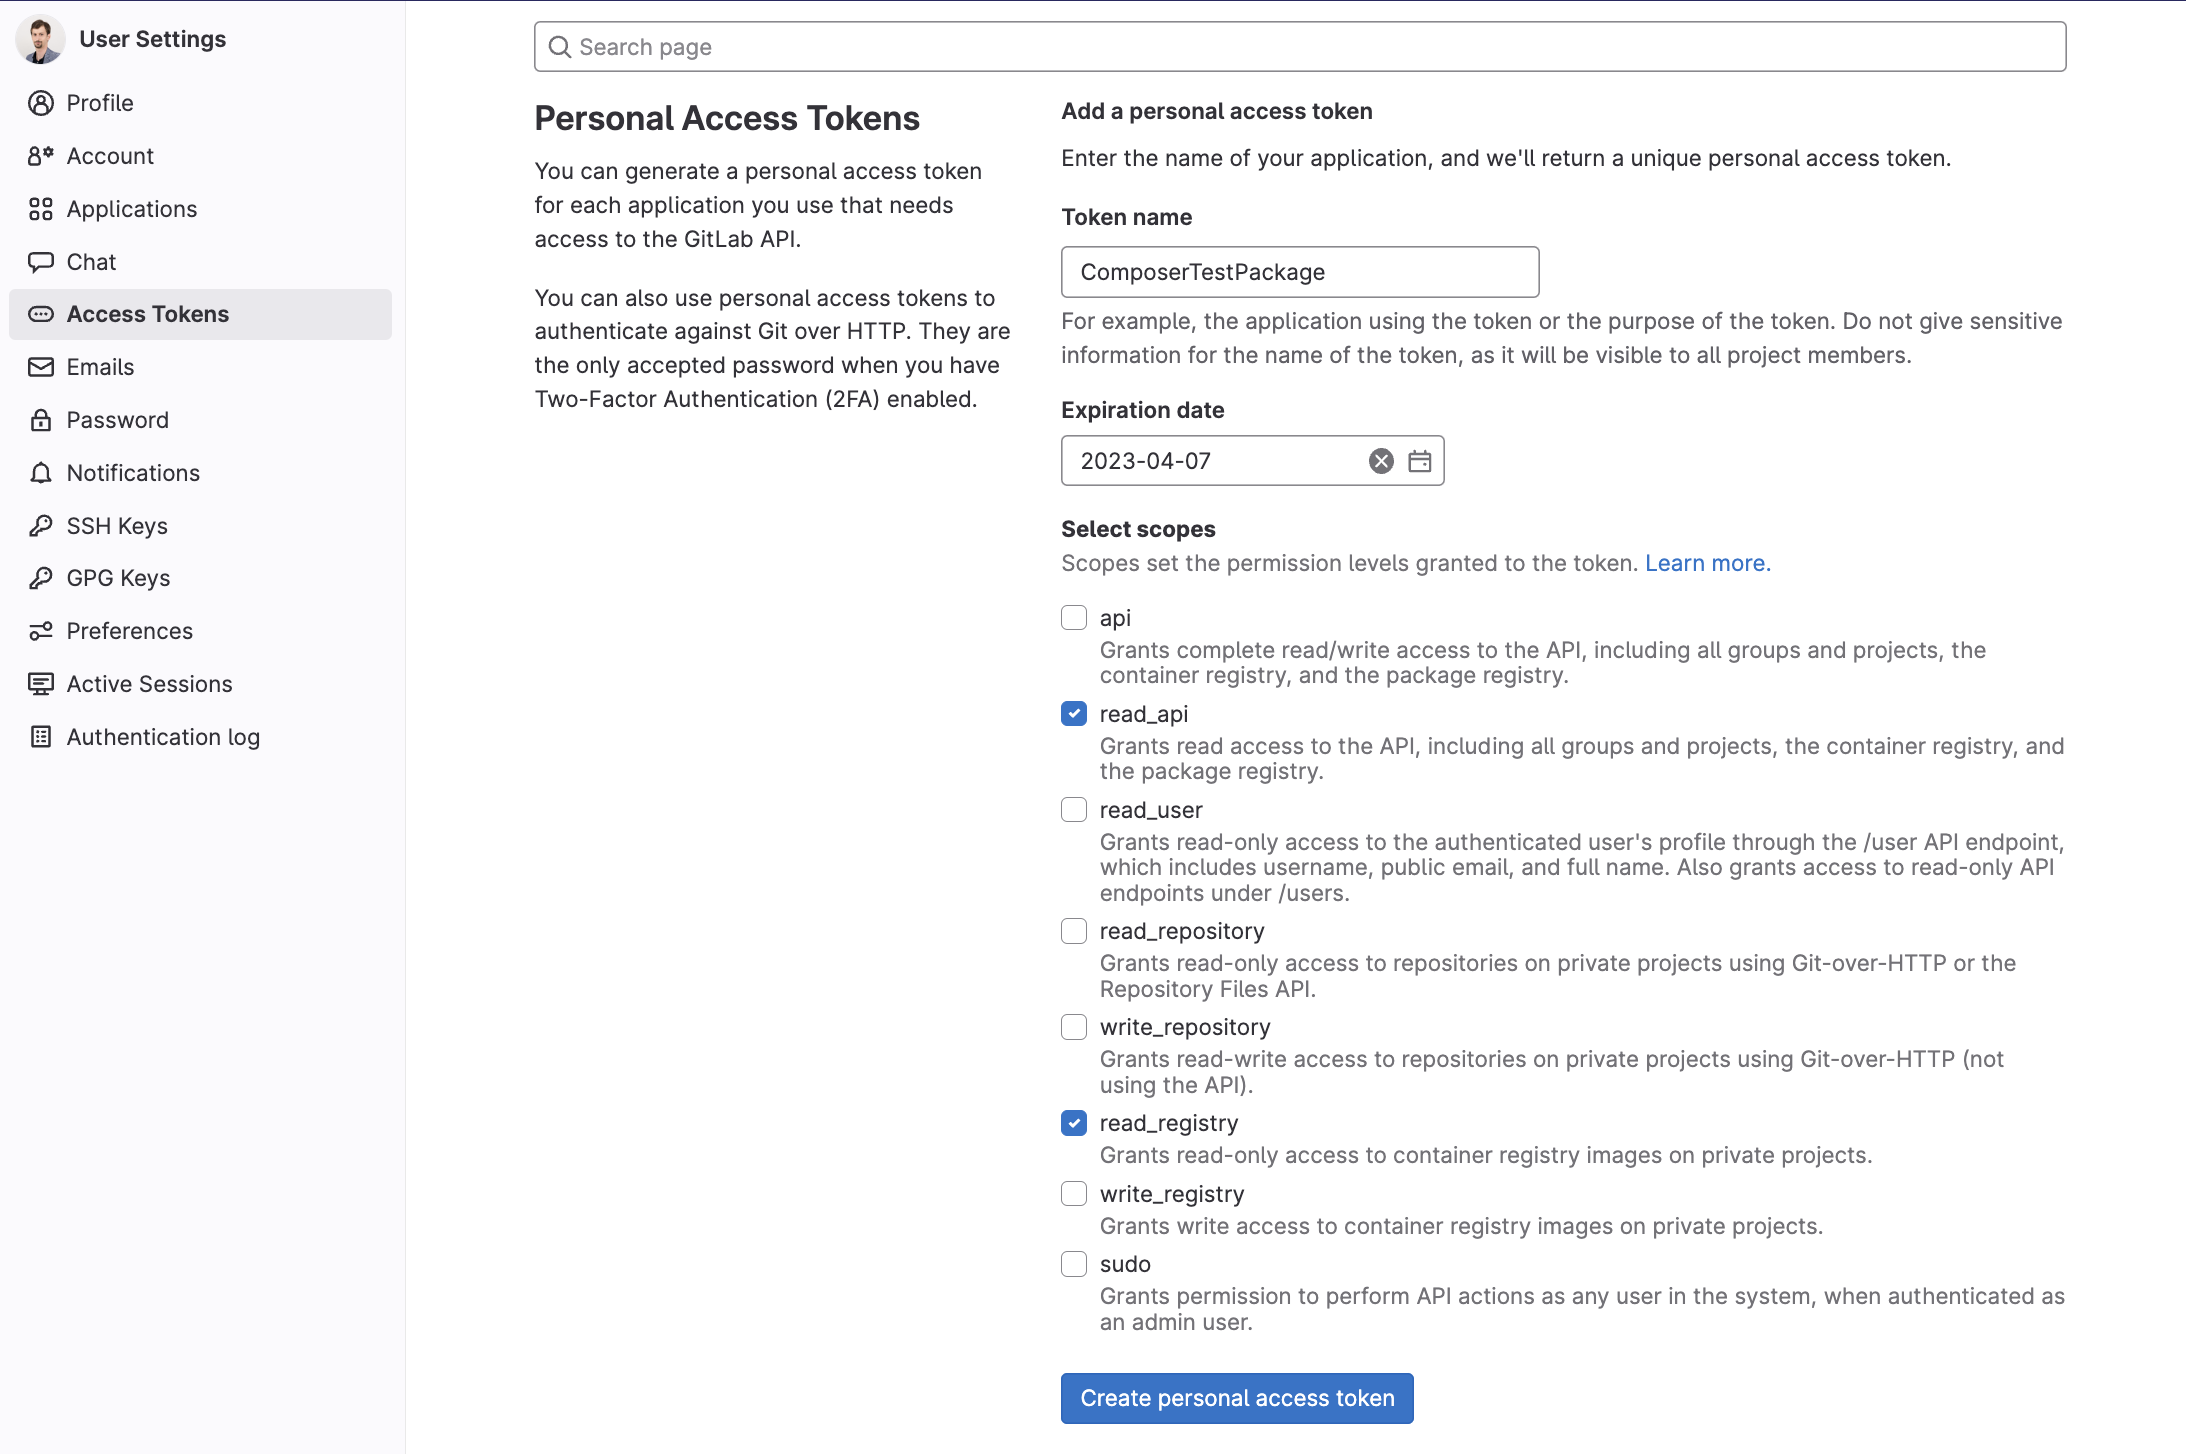
Create a private access token in GitLab, and add it to the composer configuration (keep the access token private!):

After that, we have to add the repository to the composer.json file of the project which will use the package (So it is an other file than the file before!)
Step 4b: Publish the package to packagist
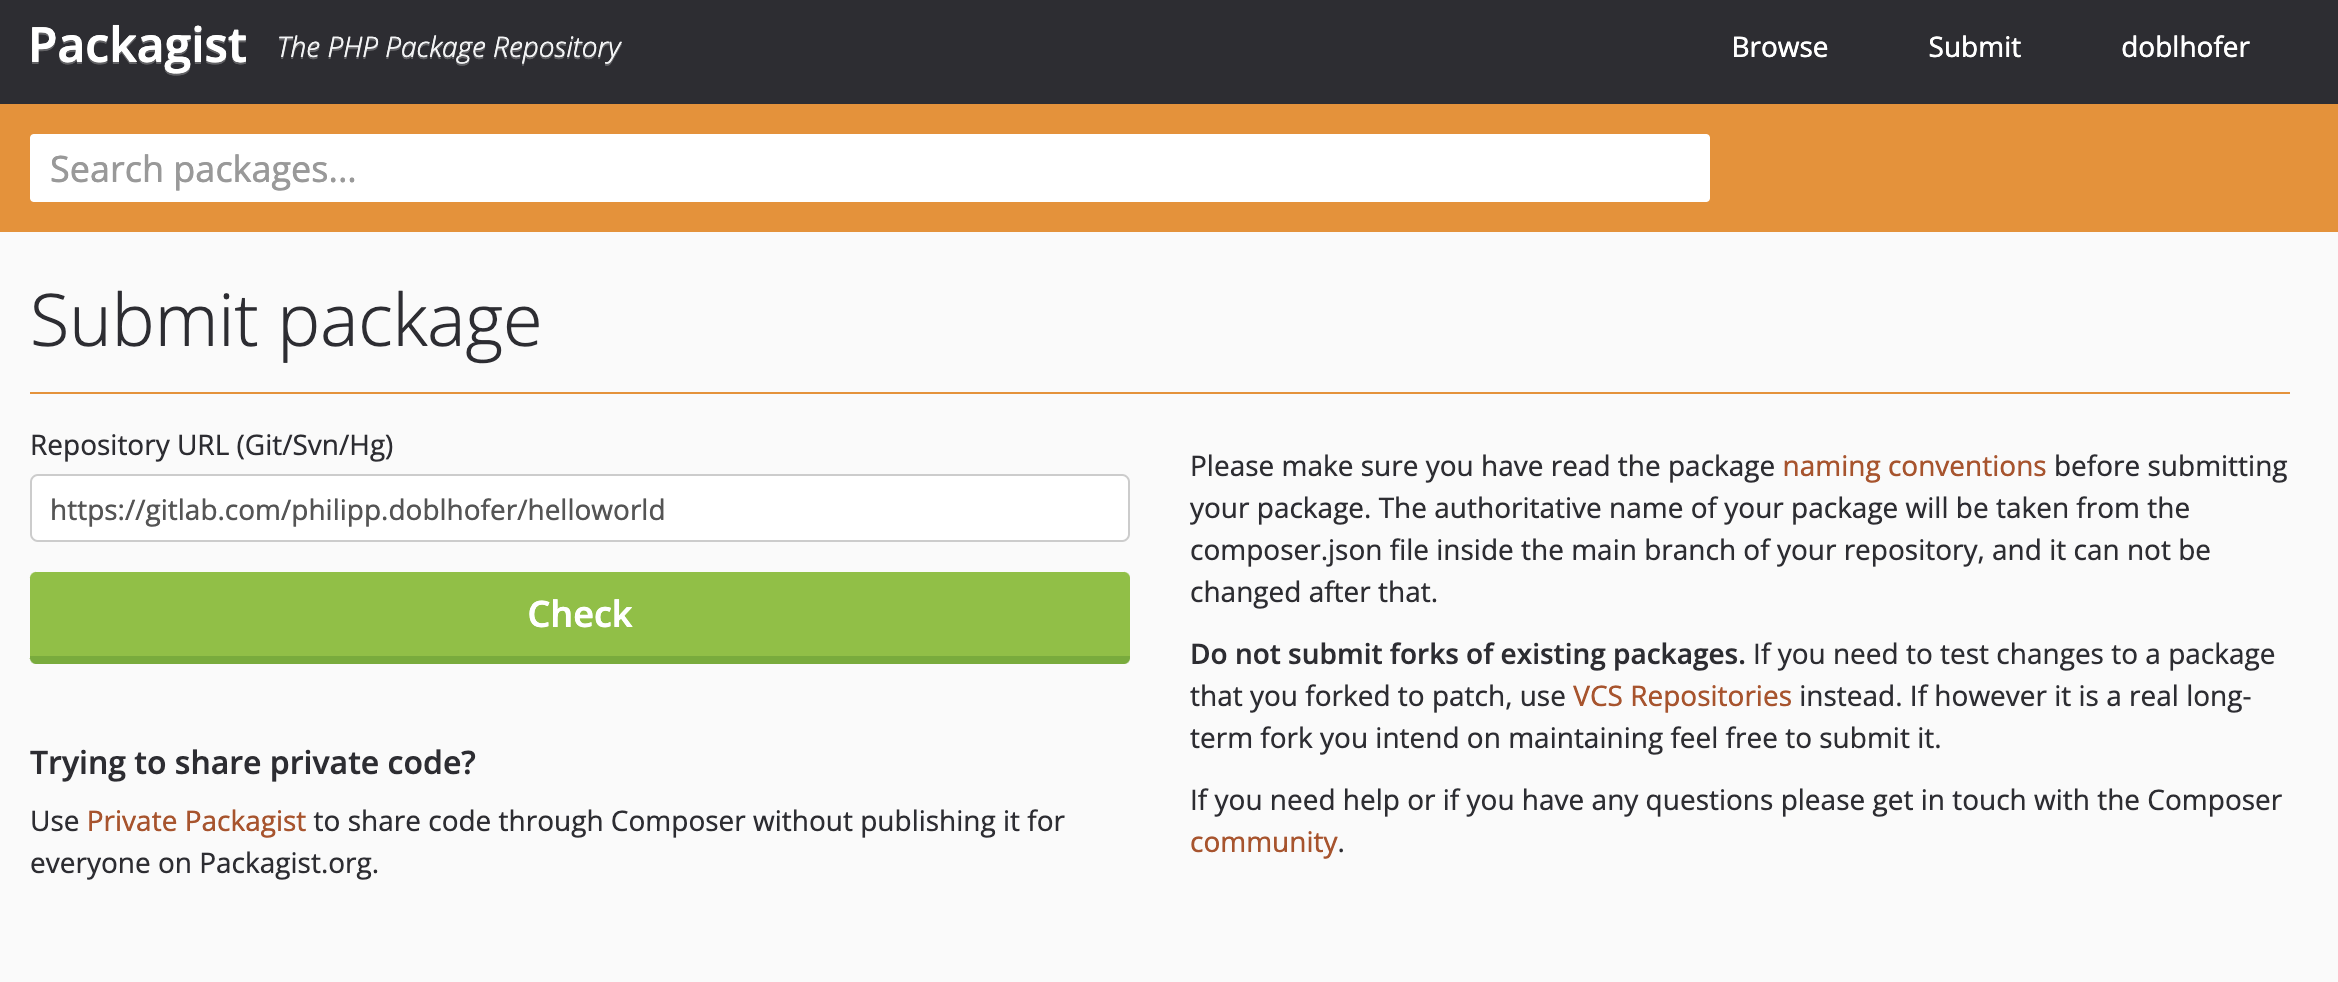
In order to make the package available for publicity, create an account at packagist.org. After that you can submit the package with the URL to the repository:

Step 5: Use the custom package
We can now install the package with
And use it for example with this example script:
A Demo-Repository for the example can be found here: https://gitlab.com/philipp.doblhofer/helloworld
The Packagist-Paket is located at https://packagist.org/packages/doblhofer/helloworld

